17.3. JPEG encode
17.3.1. Overview
JPEG decoding example project demonstrates how to encode an image capture from camera sensor to a JPG file using either JPEG module or software jpeg library
17.3.2. Board Setting
Connect the USB disk to the development board
usb0(Attention: The Cluster Size of the USB disk can’t exceed 32KB, it is recommended that the format parameter is FAT32/32KB), or insert the SD memory card into the development boardSD card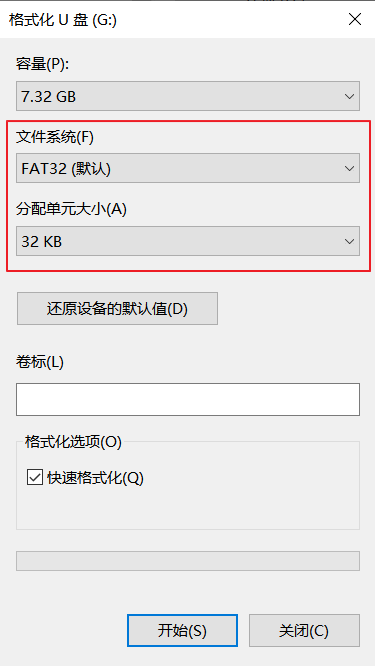
Connect LCD screen and Cam camera to development board
17.3.3. Engineering configuration
File CMakeLists.txt:
If set (JPEG_USE_SDCARD 1) is configured, jpeg files are stored in SD card or
set (JPEG_USE_UDISK 1), they will be saved to udisk.set (JPEG_HW_MODE 1) encodes through the JPEG hw module; set (JPEG_HW_MODE 0) encodes through the software library.
if use ov7725 camera device, configure set(CONFIG_CAMERA “ov7725”) in CMakeList.txt
if use ov5640 camera device, configure set(CONFIG_CAMERA “ov5640”) in CMakeList.txt
17.3.4. Store picture size
The image format stored in this routine is JPG, and the resolution size is 640*480
17.3.5. Running the example
Configure storage in CMakeLists.txt
Connect camera senor, LCD pannel and storage to board
Power on the board
Download built elf into development board and run the demo
If everything goes well:
camera sensor preview will be shown on LCD panel
press GPIO button (please check Button section of specific board) will save current frame and encode to jpeg file and save to target storage
encoded image will be decoded and shown on LCD pannel until GPIO button is pressed again. Once it’s been pressed, preview will be resumed.